By Jessica Anderson | DIY & Interior Design Enthusiast
Hey there, fellow DIY lovers! After spending three years turning my fixer-upper into a cozy home, I’ve become slightly obsessed with mirror makeovers. Today, I’m super excited to spill all my tricks about jazzing up those plain rectangle mirrors we all seem to have lying around. Trust me, I’ve had my share of craft fails (let’s not talk about the Great Glitter Disaster of 2023), but these ideas? They’re totally doable!
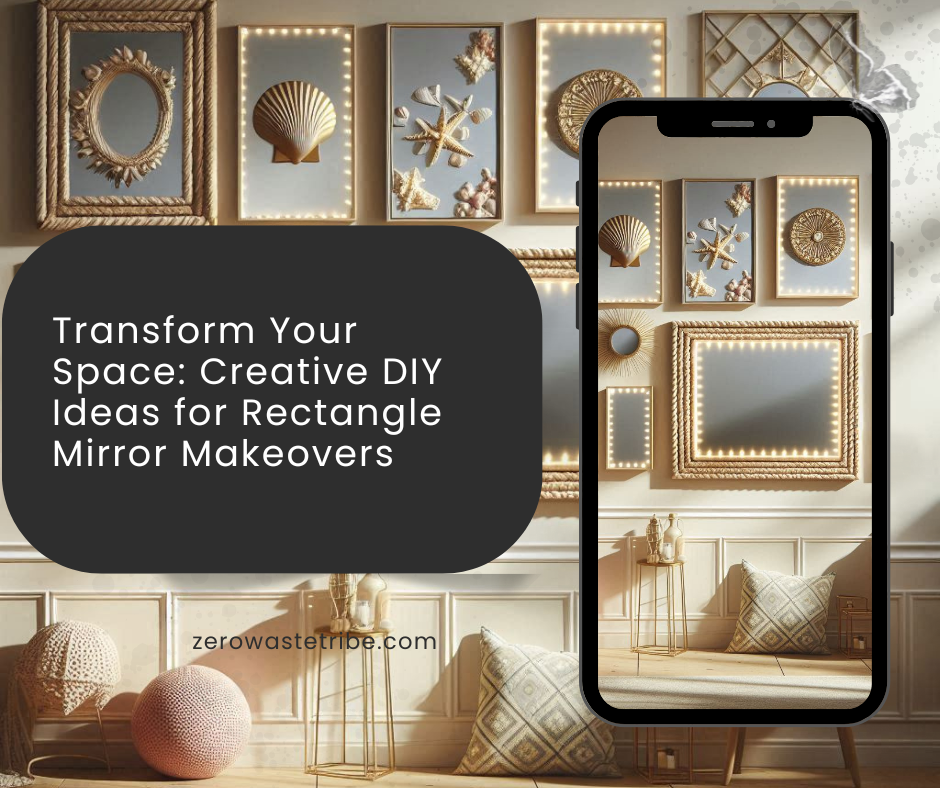
Why I Started Playing with Mirror Decor?
Okay, here’s a funny story – it all began when I moved into my new place and discovered the world’s most boring bathroom mirror. You know the type – just stuck there on the wall, doing nothing but showing my bedhead every morning. I was on a tight budget (hello, mortgage payments!), but I desperately wanted to add some personality to my space. Little did I know, that plain mirror would kick-start my DIY journey!
The Game-Changing Magic of Mirror Decorating
Before We Dive In
Let me tell you something – mirrors are like magic wands for your space. Last weekend, my best friend came over and literally gasped when she saw my living room mirror (more on that masterpiece later). She couldn’t believe it was the same $20 thrift store find I’d texted her about months ago.
The Good, The Bad, and The “What Was I Thinking?”
Before sharing my favorite ideas, let me be real with you. I’ve tried pretty much everything you can imagine – some projects turned out Instagram-worthy, while others… well, let’s just say my dog gave me some very judgmental looks. But hey, that’s how we learn, right?
Getting Started: What You’ll Actually Need
The Basic Must-Haves:
- A clean mirror (sounds obvious, but trust me on this)
- Strong adhesive (I learned the hard way that cheap stuff doesn’t cut it)
- Measuring tape (eyeballing it never works, despite what my optimistic brain tells me)
- Basic cleaning supplies
- Patience (lots of it!)
My Top Mirror Transformation Ideas
1. The Rope Border That Started It All
This was my first successful project, and it’s still my favorite. Picture this: I was browsing Pinterest at 2 AM (as one does), saw a gorgeous rope-framed mirror, and thought, “I can do that!” Spoiler alert: I could, and you can too!
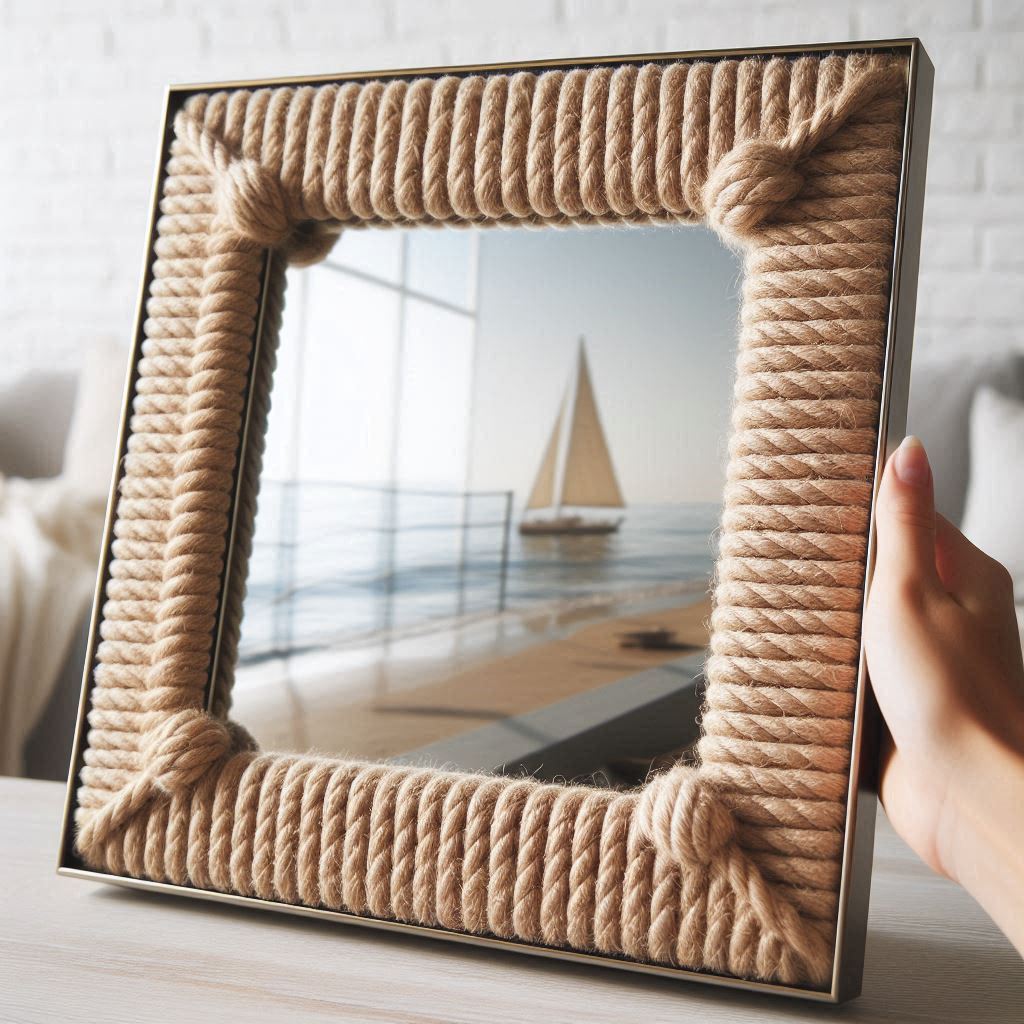
What You Need:
- Natural rope (I got mine from the hardware store)
- A hot glue gun (prepare for minor finger burns – they’re like DIY battle scars)
- Something to watch on Netflix while you work (trust me, it helps)
The trick? Work in small sections and don’t rush. I watched an entire season of my favorite show while making this, and it was worth every minute.
2. The Coastal Dream
Living nowhere near the beach didn’t stop me from creating my own coastal vibe! This project came to life after a vacation where I collected way too many shells (according to my husband).
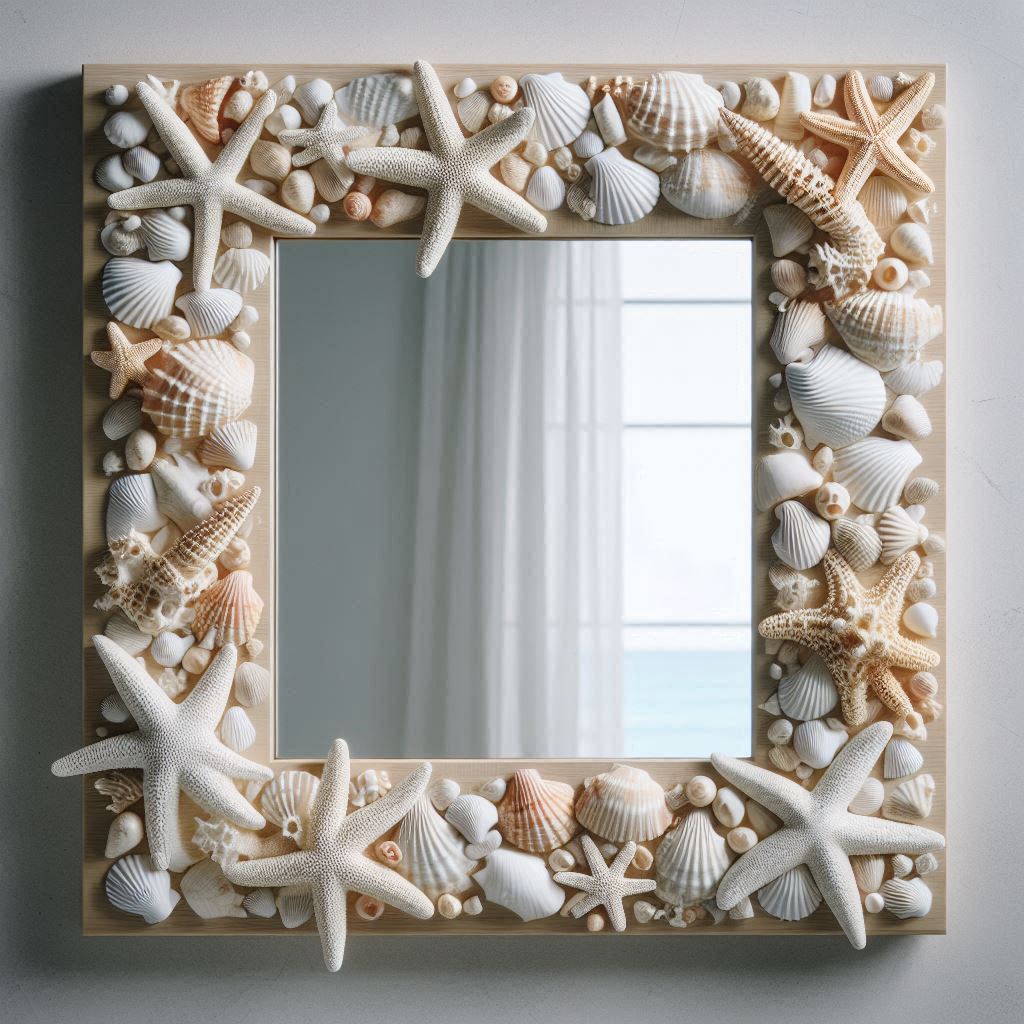
What You’ll Need:
- Seashells (cleaned and dried)
- Strong adhesive
- Clear sealant
- Patience (yes, again)
Pro tip: Lay out your design before gluing anything. My first attempt looked like a kindergarten art project because I just started sticking shells randomly. Learn from my mistakes, friends!
3. The LED Glow-Up
This project happened by accident when I was trying to improve my makeup lighting. Now it’s the most complimented piece in my home!
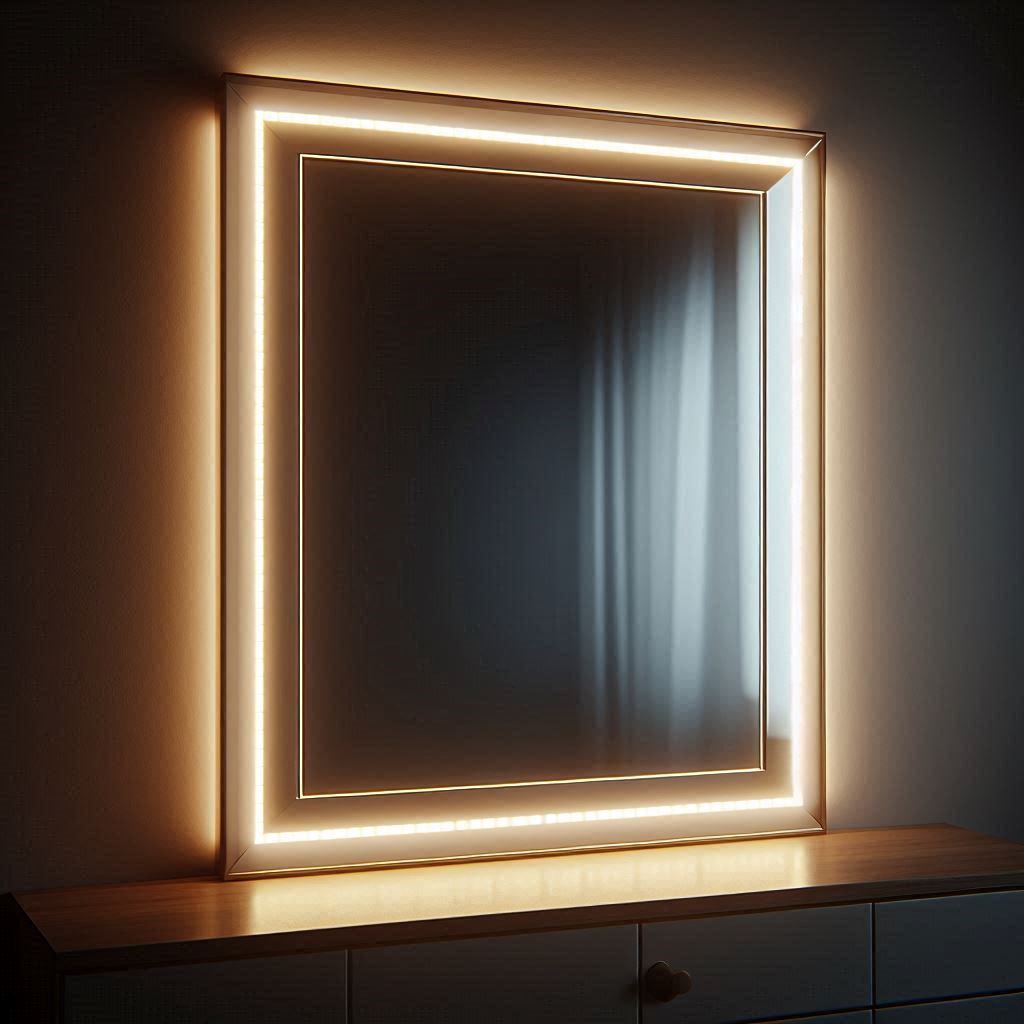
Materials:
- LED strip lights
- Command strips (the good ones)
- A power source
- Wire clips
Fair warning: You might become addicted to the ambiance it creates. I now have three LED-bordered mirrors in my house. No regrets!
4. The Vintage Frame Revival
This one’s for all my thrift store lovers! I found an ugly but ornate frame for $5, and with some chalk paint and love, it became a showstopper.
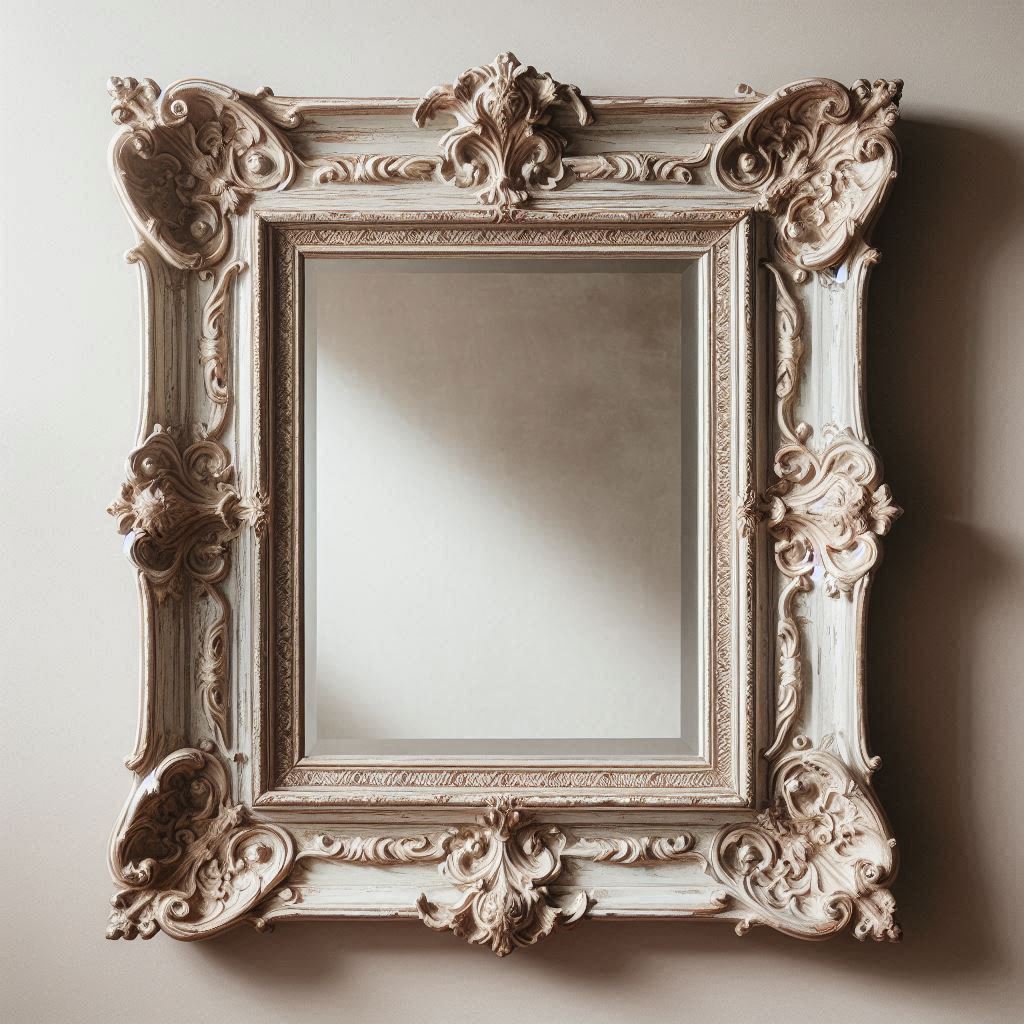
The Process:
- Sand lightly
- Paint (I used three coats)
- Distress edges if you’re feeling fancy
- Attach to mirror
- Stand back and feel proud
5. The Modern Geometric Wonder
When I tried this, my mom said it looked “very Pinterest.” Best compliment ever! It’s perfect for adding a contemporary touch without breaking the bank.
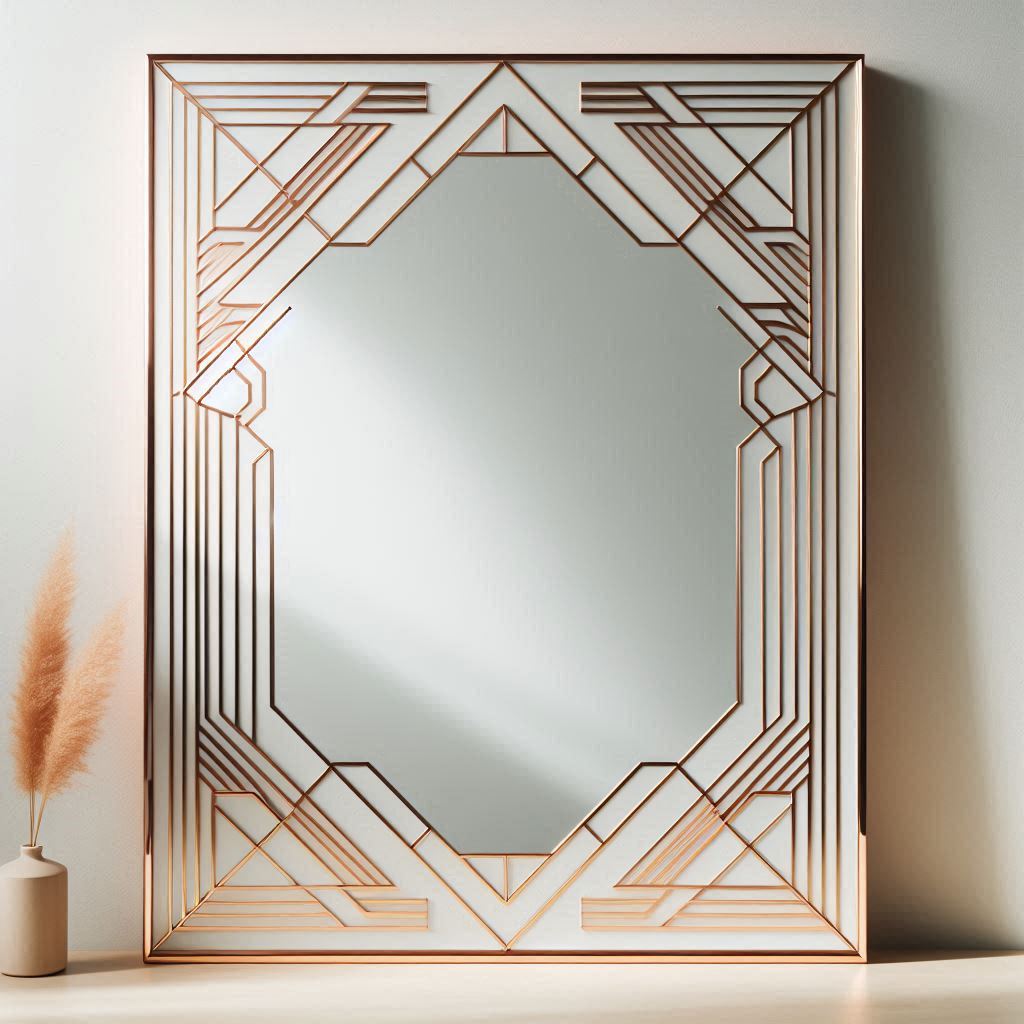
What You Need:
- Gold or copper tape
- A ruler
- Lots of patience
- A clear vision (or at least a Pinterest reference)
Real Talk: Mistakes I’ve Made So You Don’t Have To
- Using regular Elmer’s glue (epic fail)
- Skipping the cleaning step (dust ruins everything)
- Not measuring properly (crooked designs are not “artistic”)
- Rushing the drying time (gravity always wins)
- Trying to do it all in one night (sleep-deprived crafting leads to regrets)
Make It Last: Maintenance Tips from Someone Who Learned the Hard Way
- Dust regularly (I use a microfiber cloth)
- Check for loose pieces monthly
- Keep cleaning sprays away from decorated edges
- Touch up as needed
Wrapping It Up
Listen, if I can transform a basic mirror into something spectacular while binge-watching TV and drinking wine, you absolutely can too! Start with something simple, and don’t be afraid to make mistakes. Some of my best ideas came from “happy accidents” (as Bob Ross would say).
Remember, your mirror doesn’t have to look exactly like the inspiration photos. Make it yours! And if something goes wrong? Well, that’s what wine and craft store return policies are for!
Oh, and before I forget – take before and after photos. Trust me, you’ll want to show off your transformation!
Disclaimer: This blog post reflects my personal experiences and DIY adventures. I’m just a regular person who loves transforming spaces on a budget. Any tips and tricks shared here come from my own trial and error (emphasis on the error part). Some projects may require basic DIY skills, and results can vary. Always follow safety guidelines and maybe keep a first aid kit handy – just in case! Some links might be affiliate links, meaning I earn a small commission if you purchase through them (gotta fund my DIY addiction somehow!).
Got questions about any of these projects? Drop them in the comments below! I’d love to help you avoid the mistakes I made and see your creative takes on these ideas!


